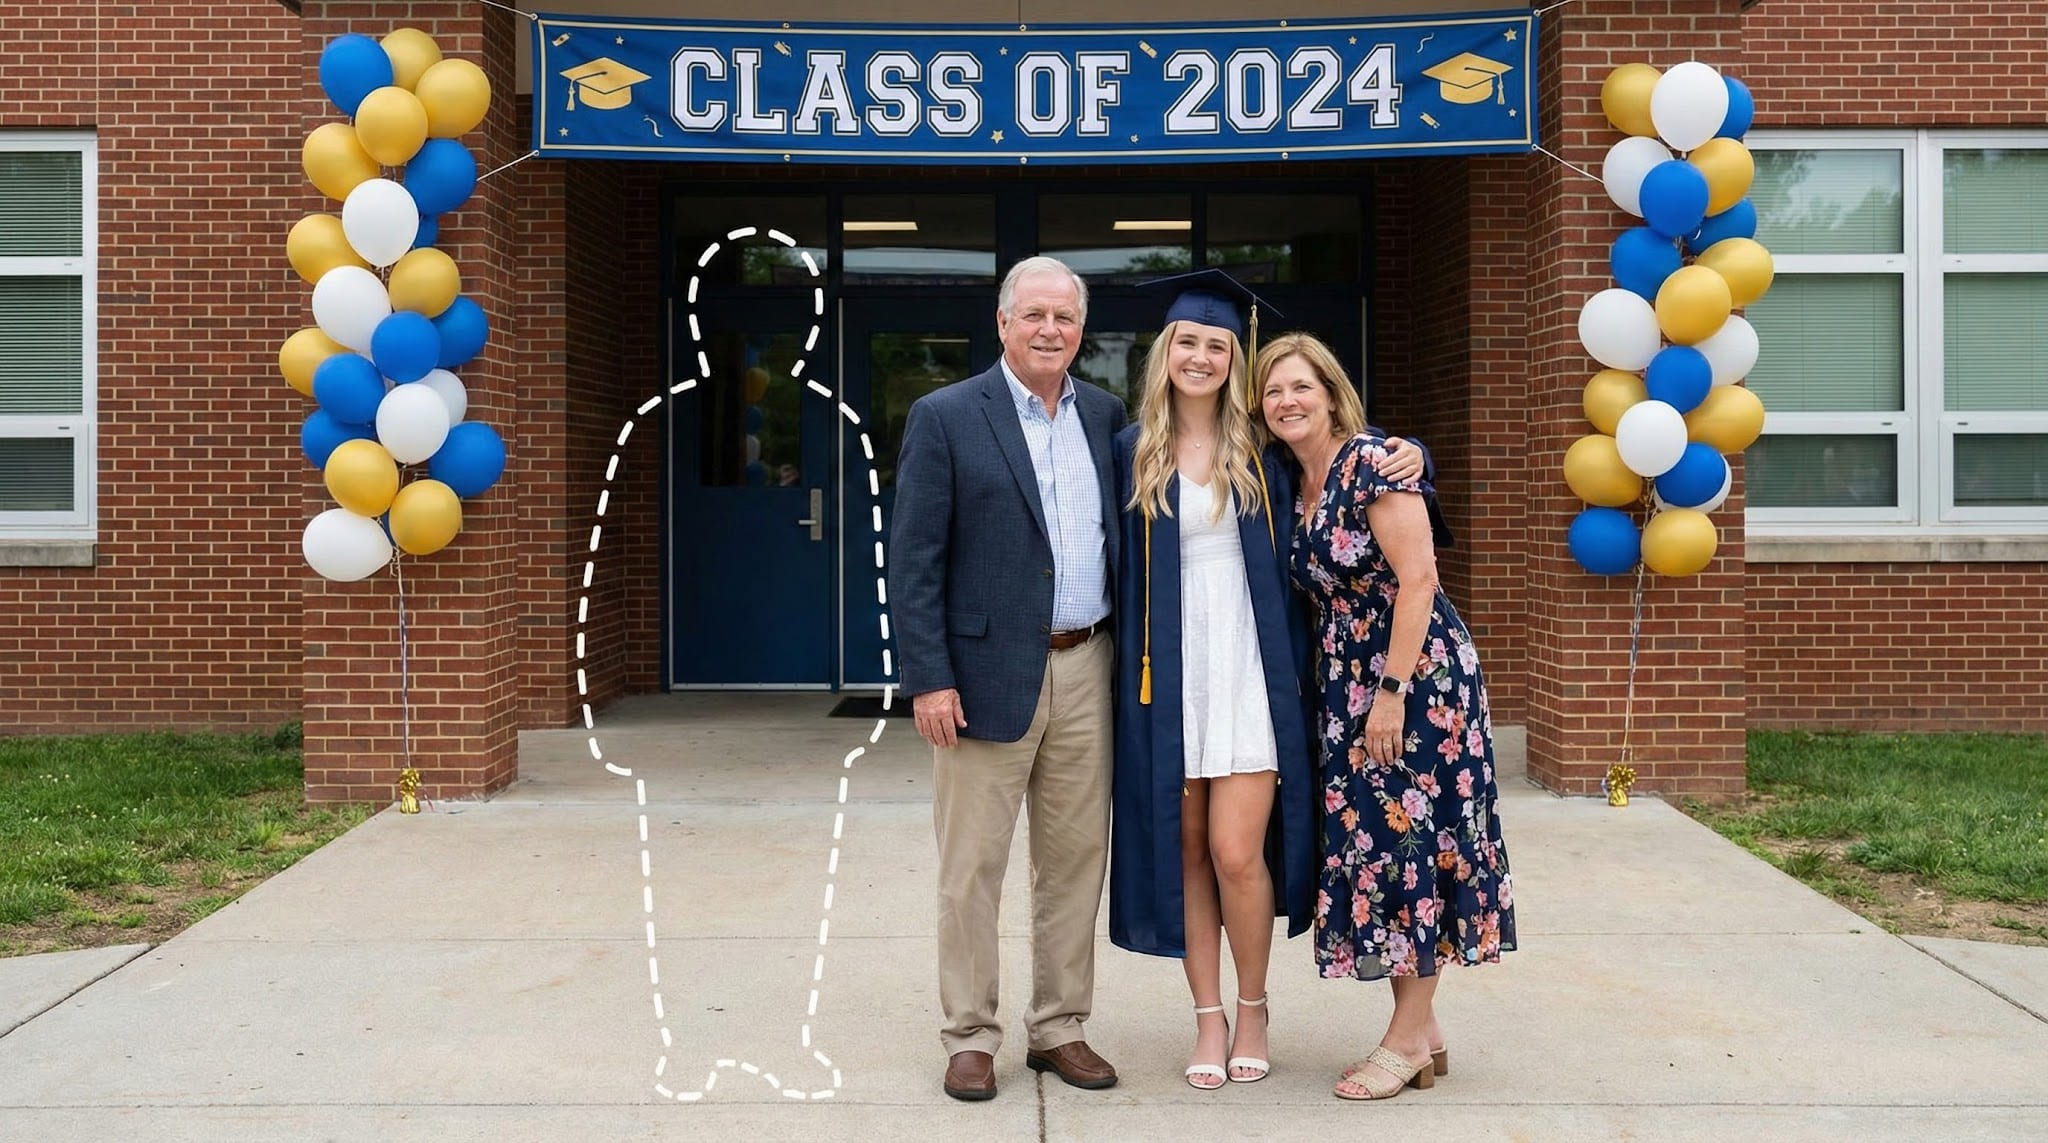
Add a Loved One Who Passed Away to a Photo
A natural, respectful way to complete a meaningful memory — without obvious editing or before/after effects.
For moments that feel incomplete without them, this helps create a photo that reflects the memory as it truly felt.
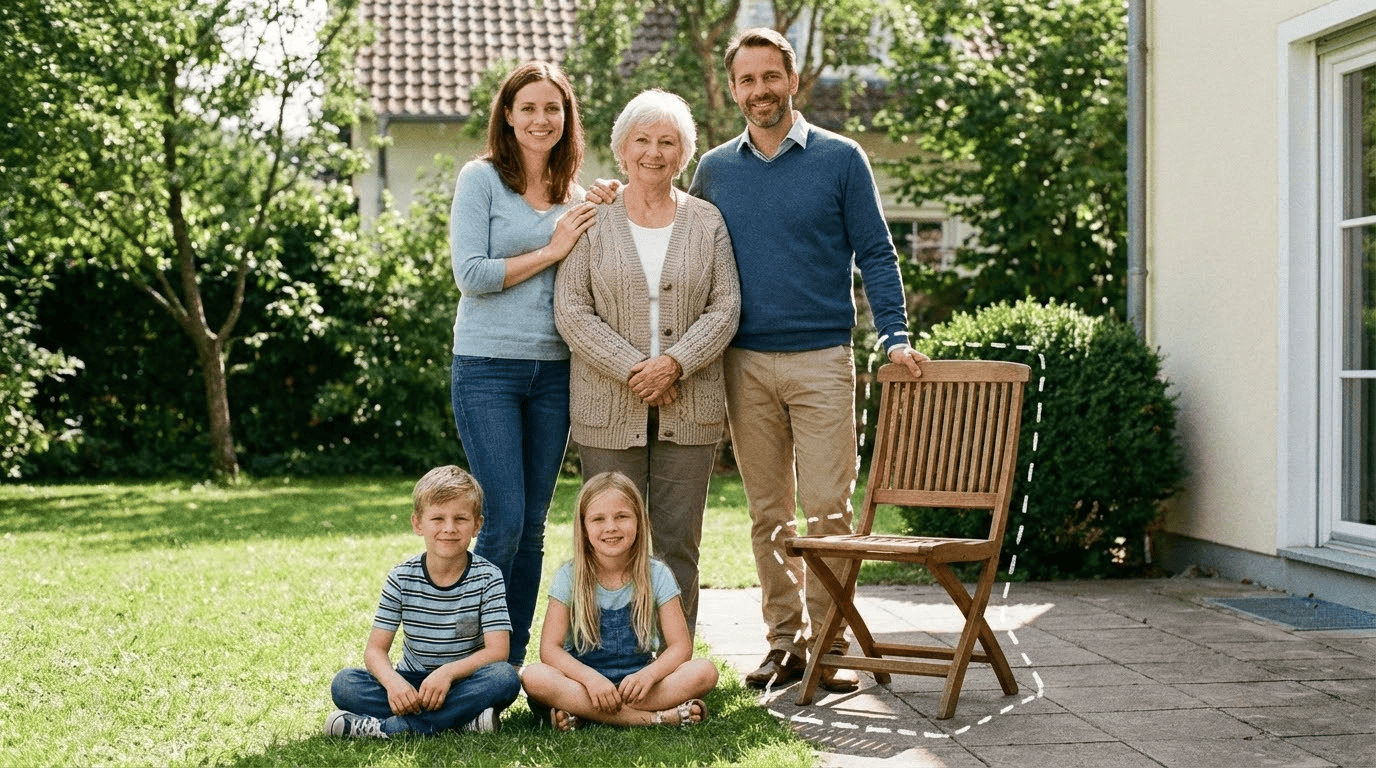
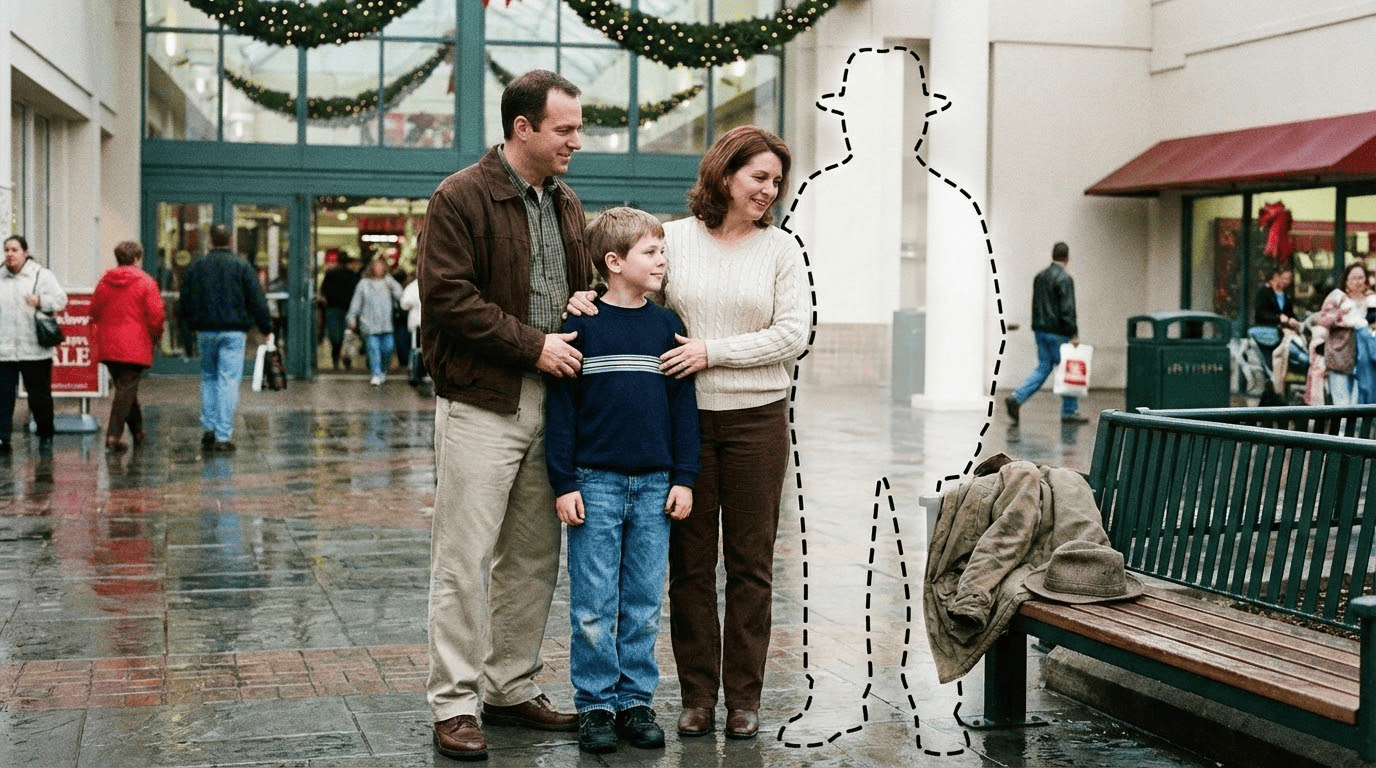
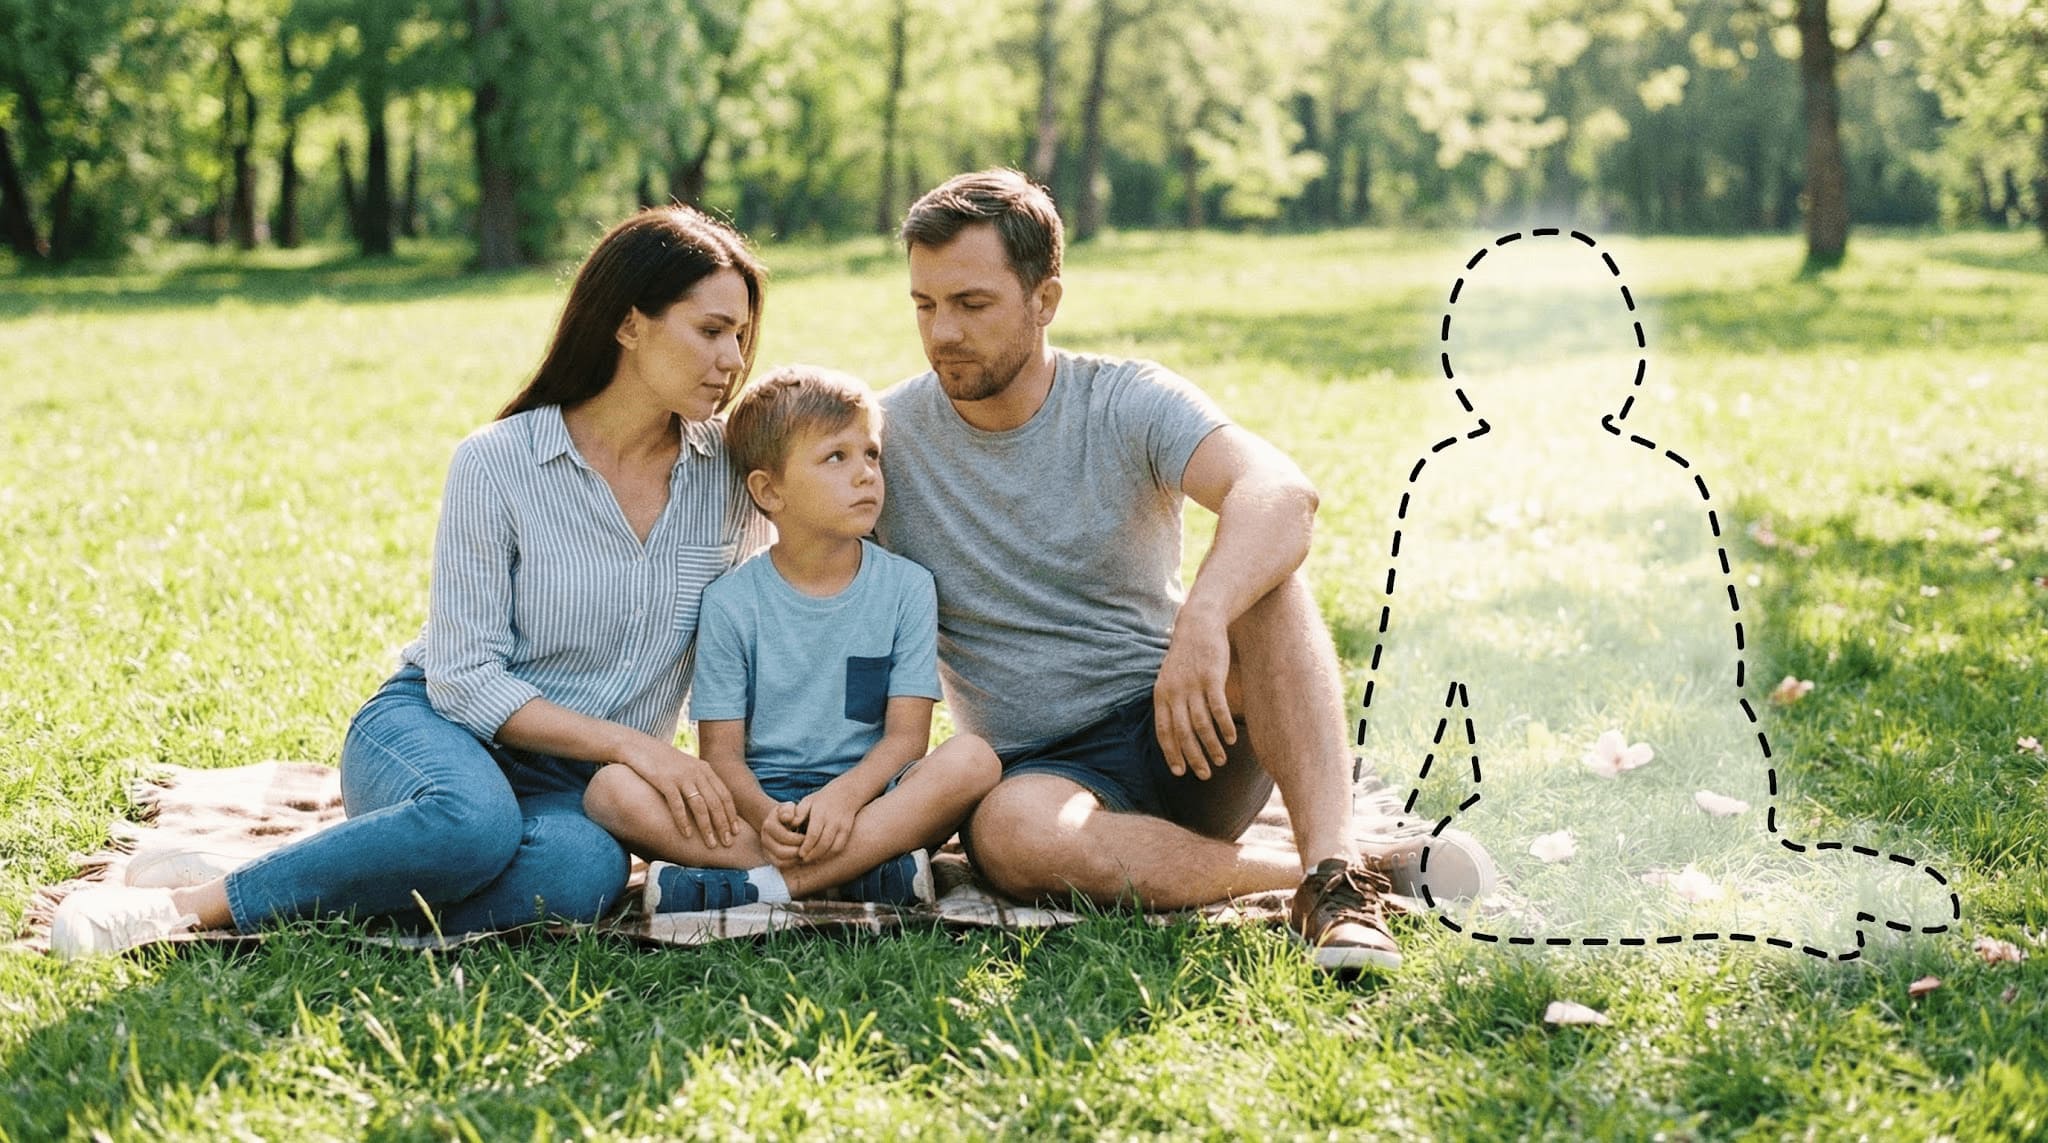
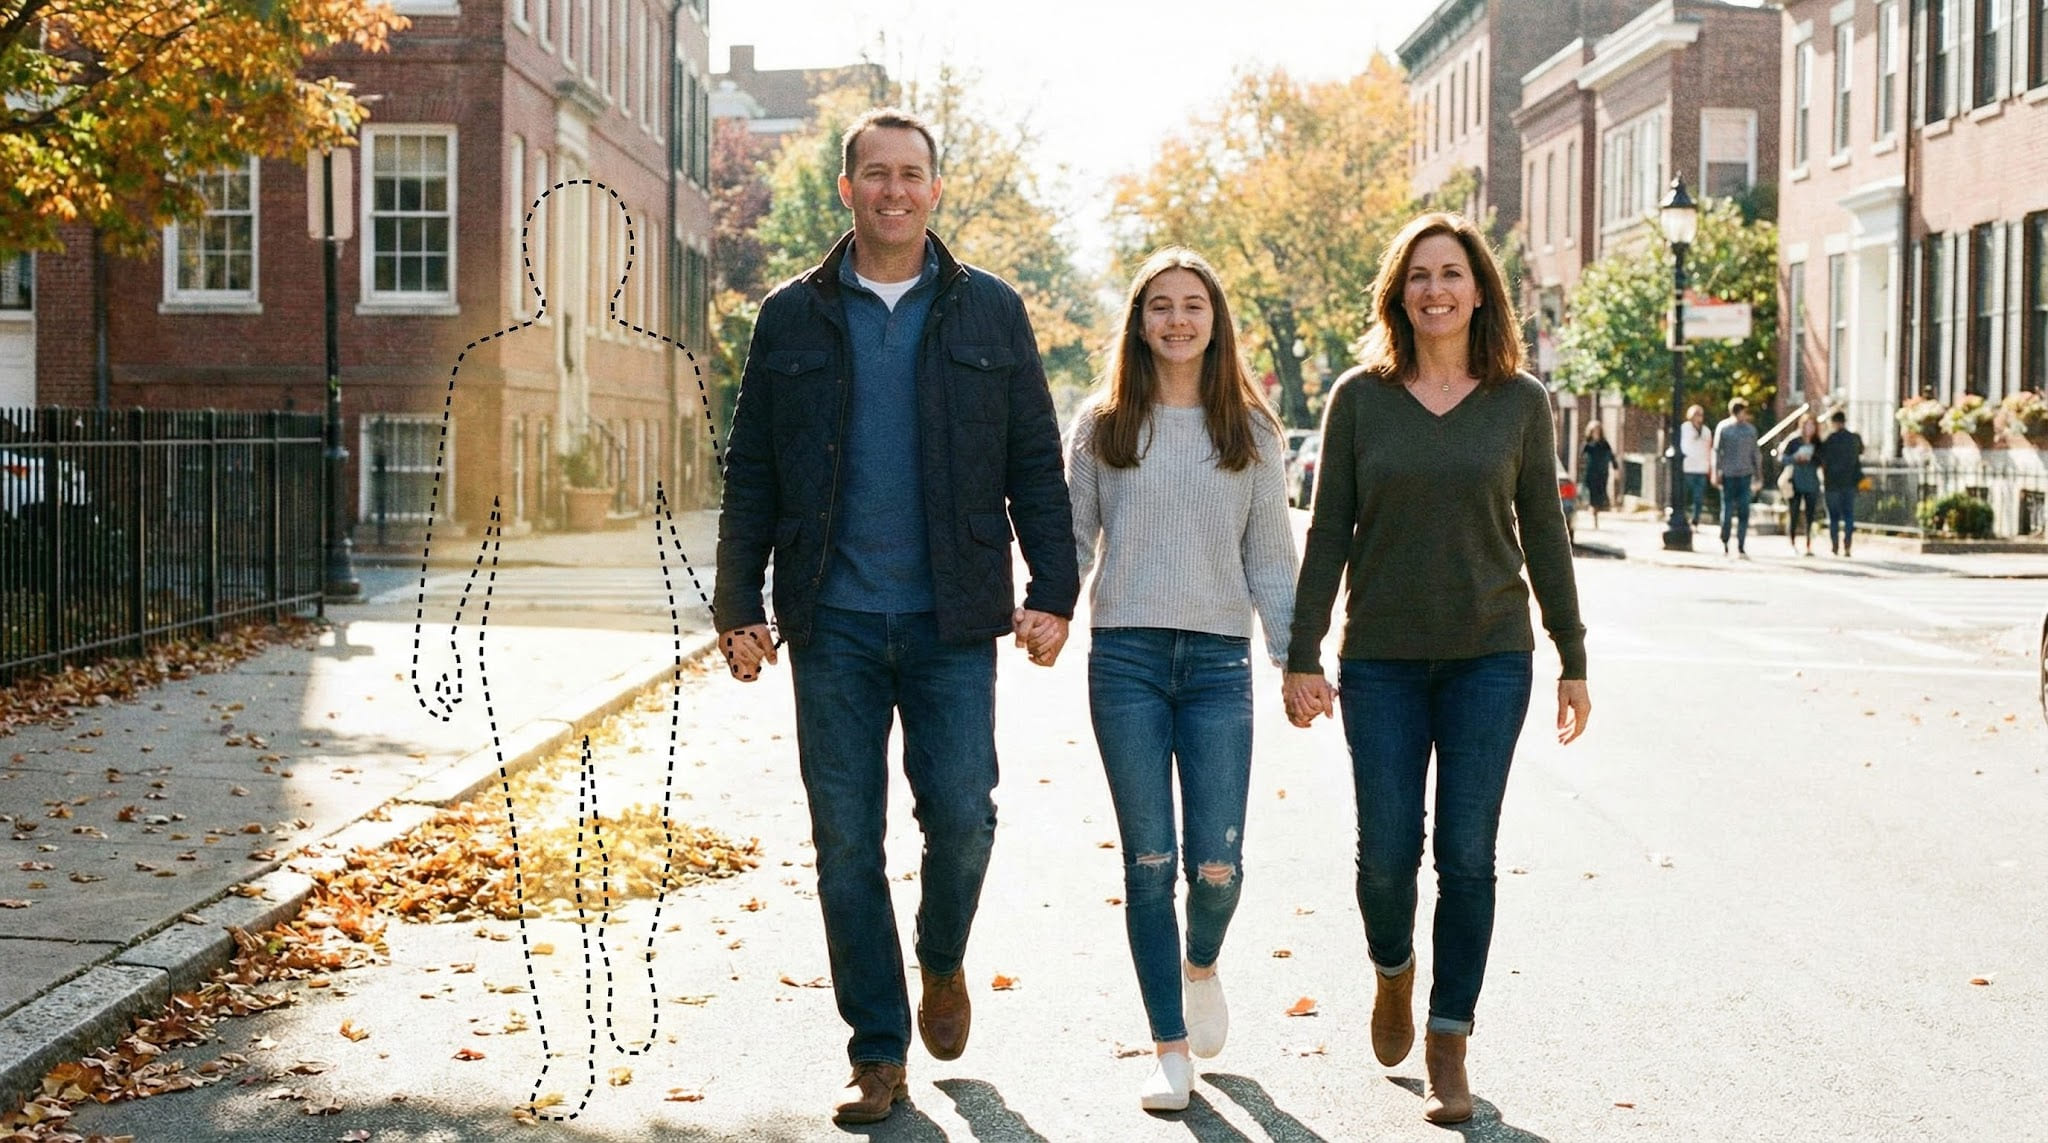
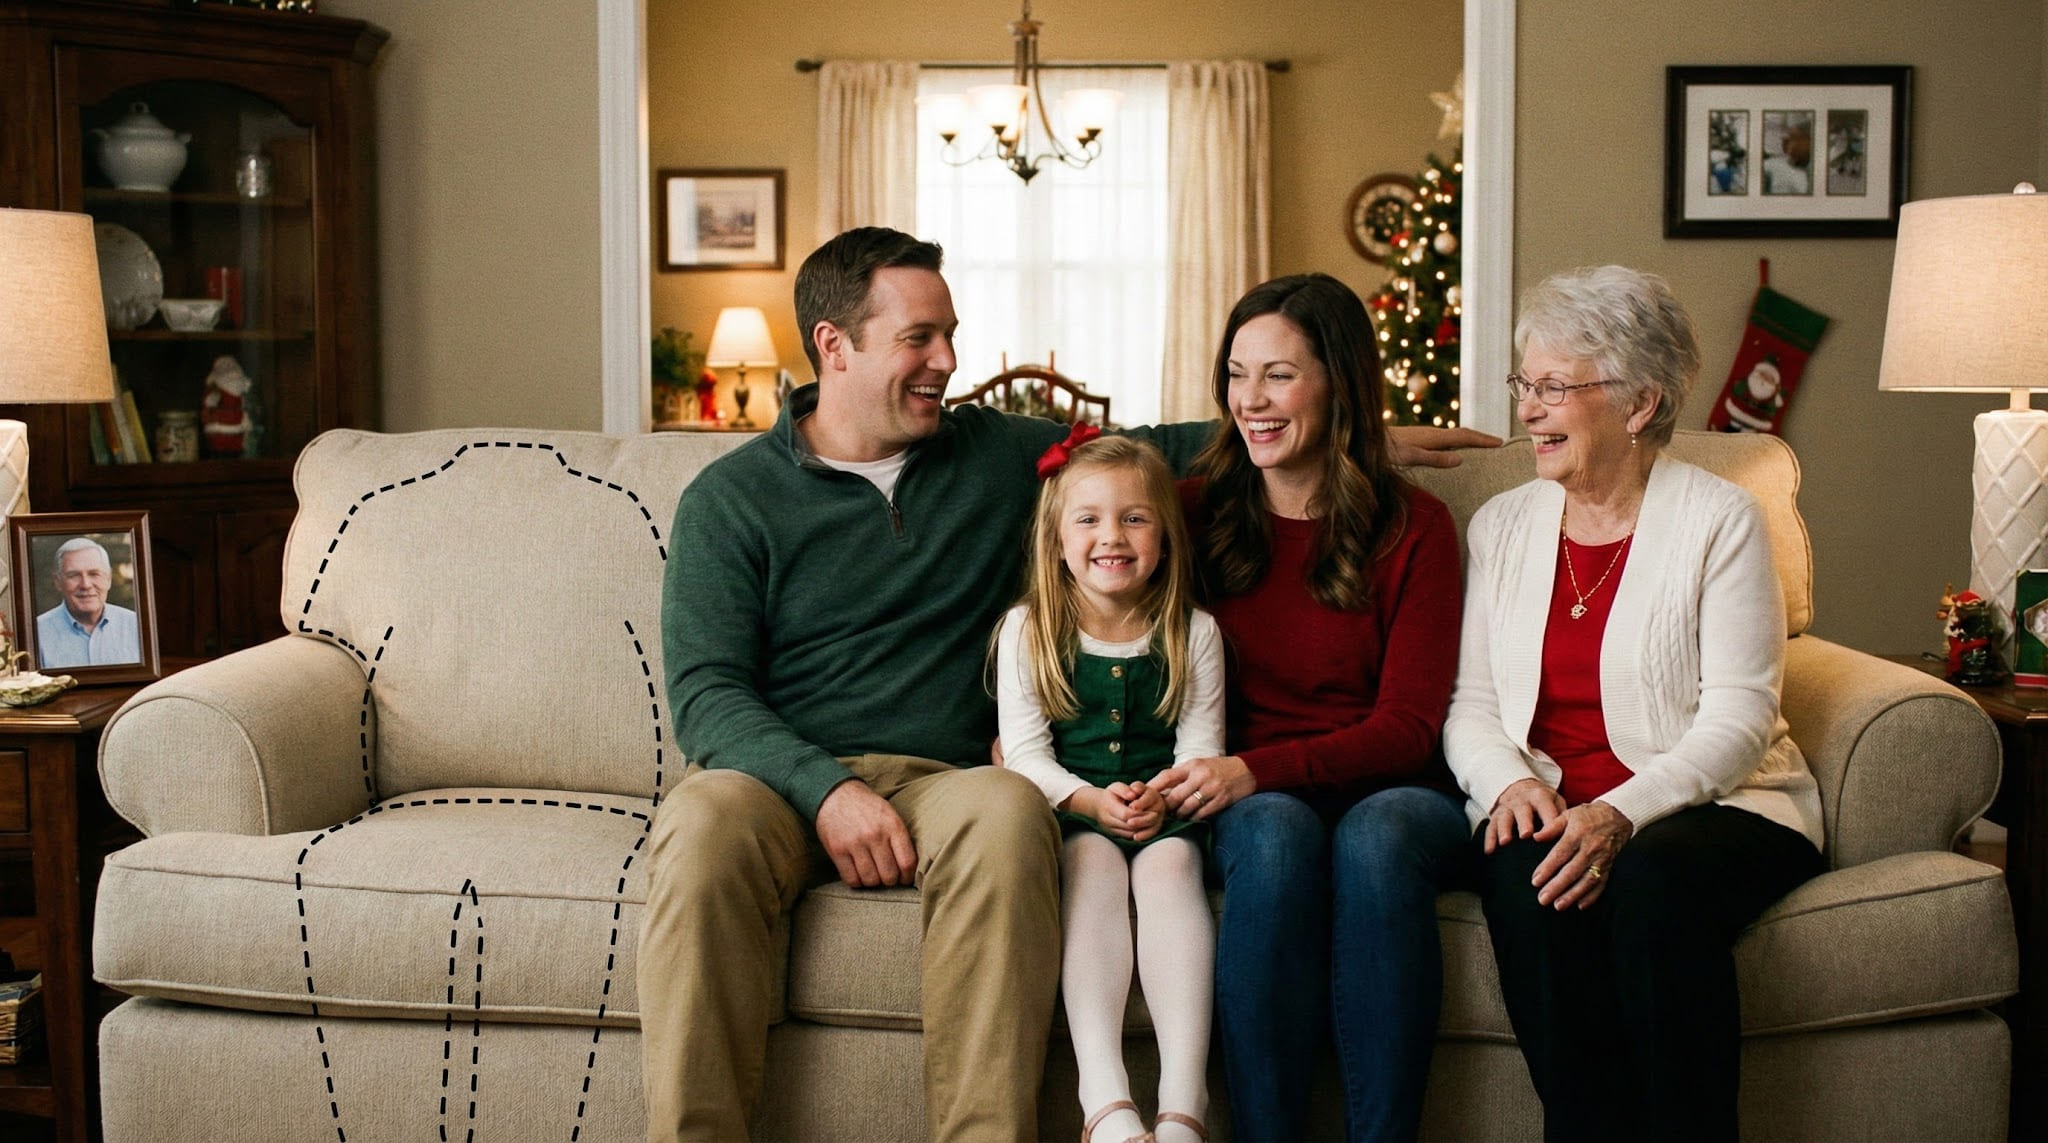
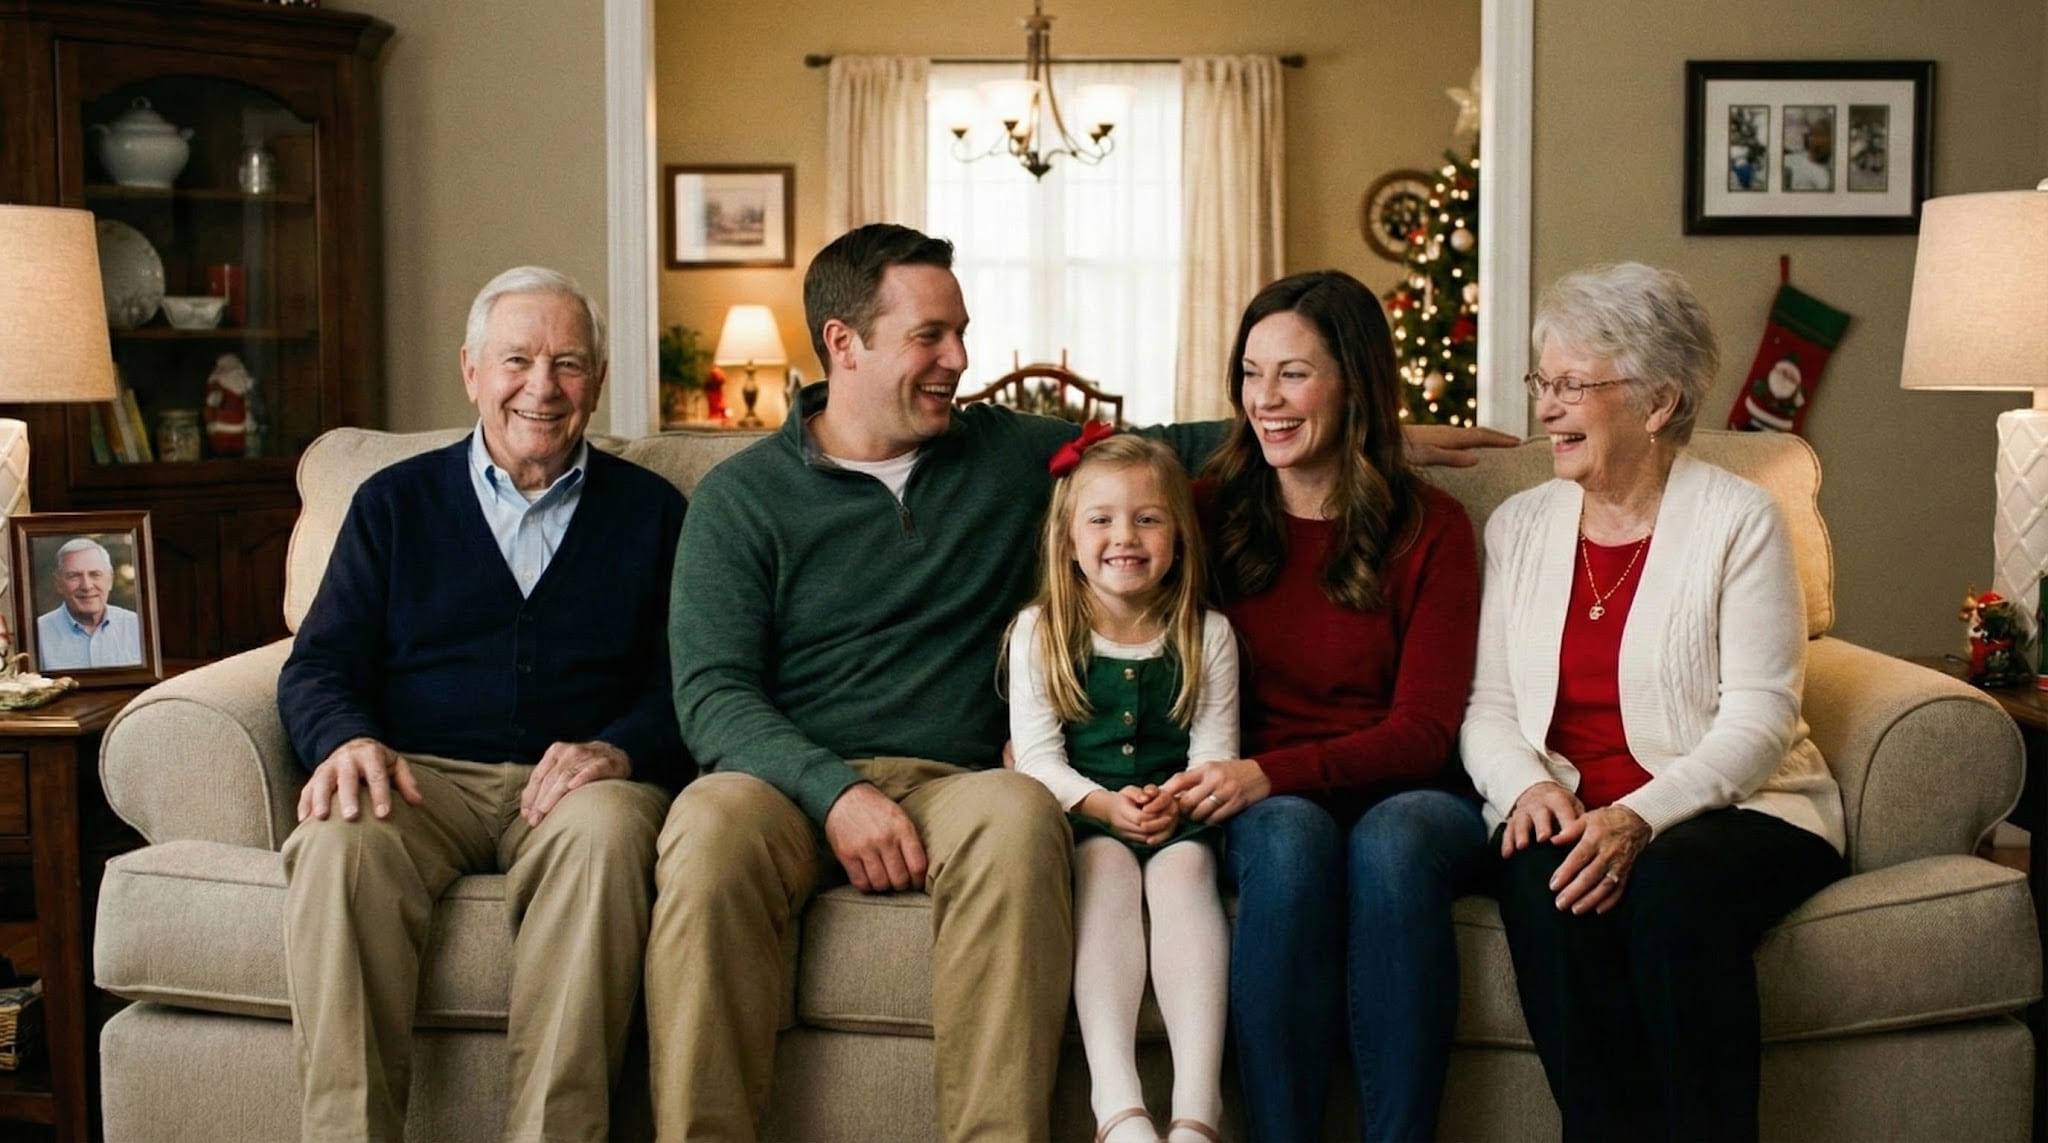
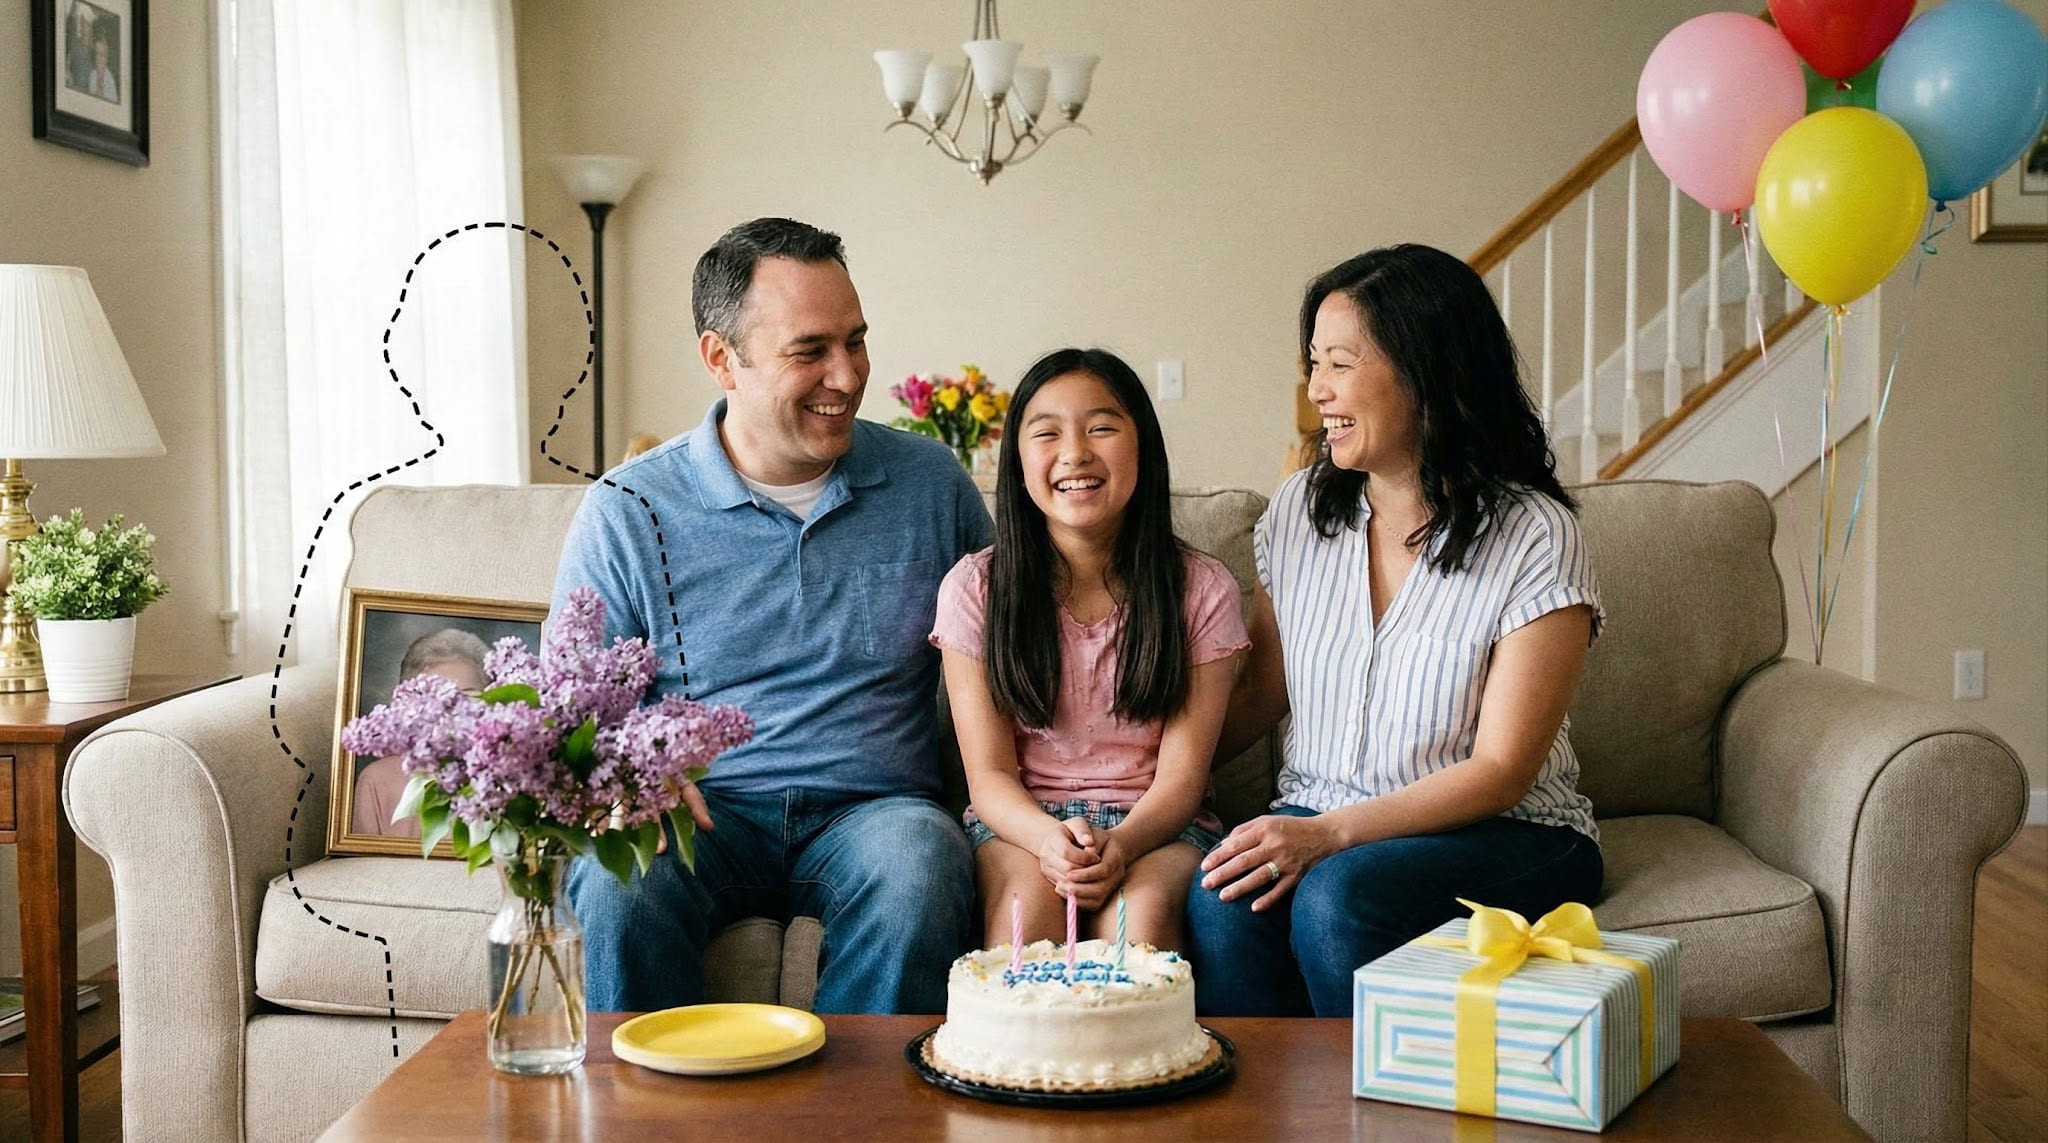
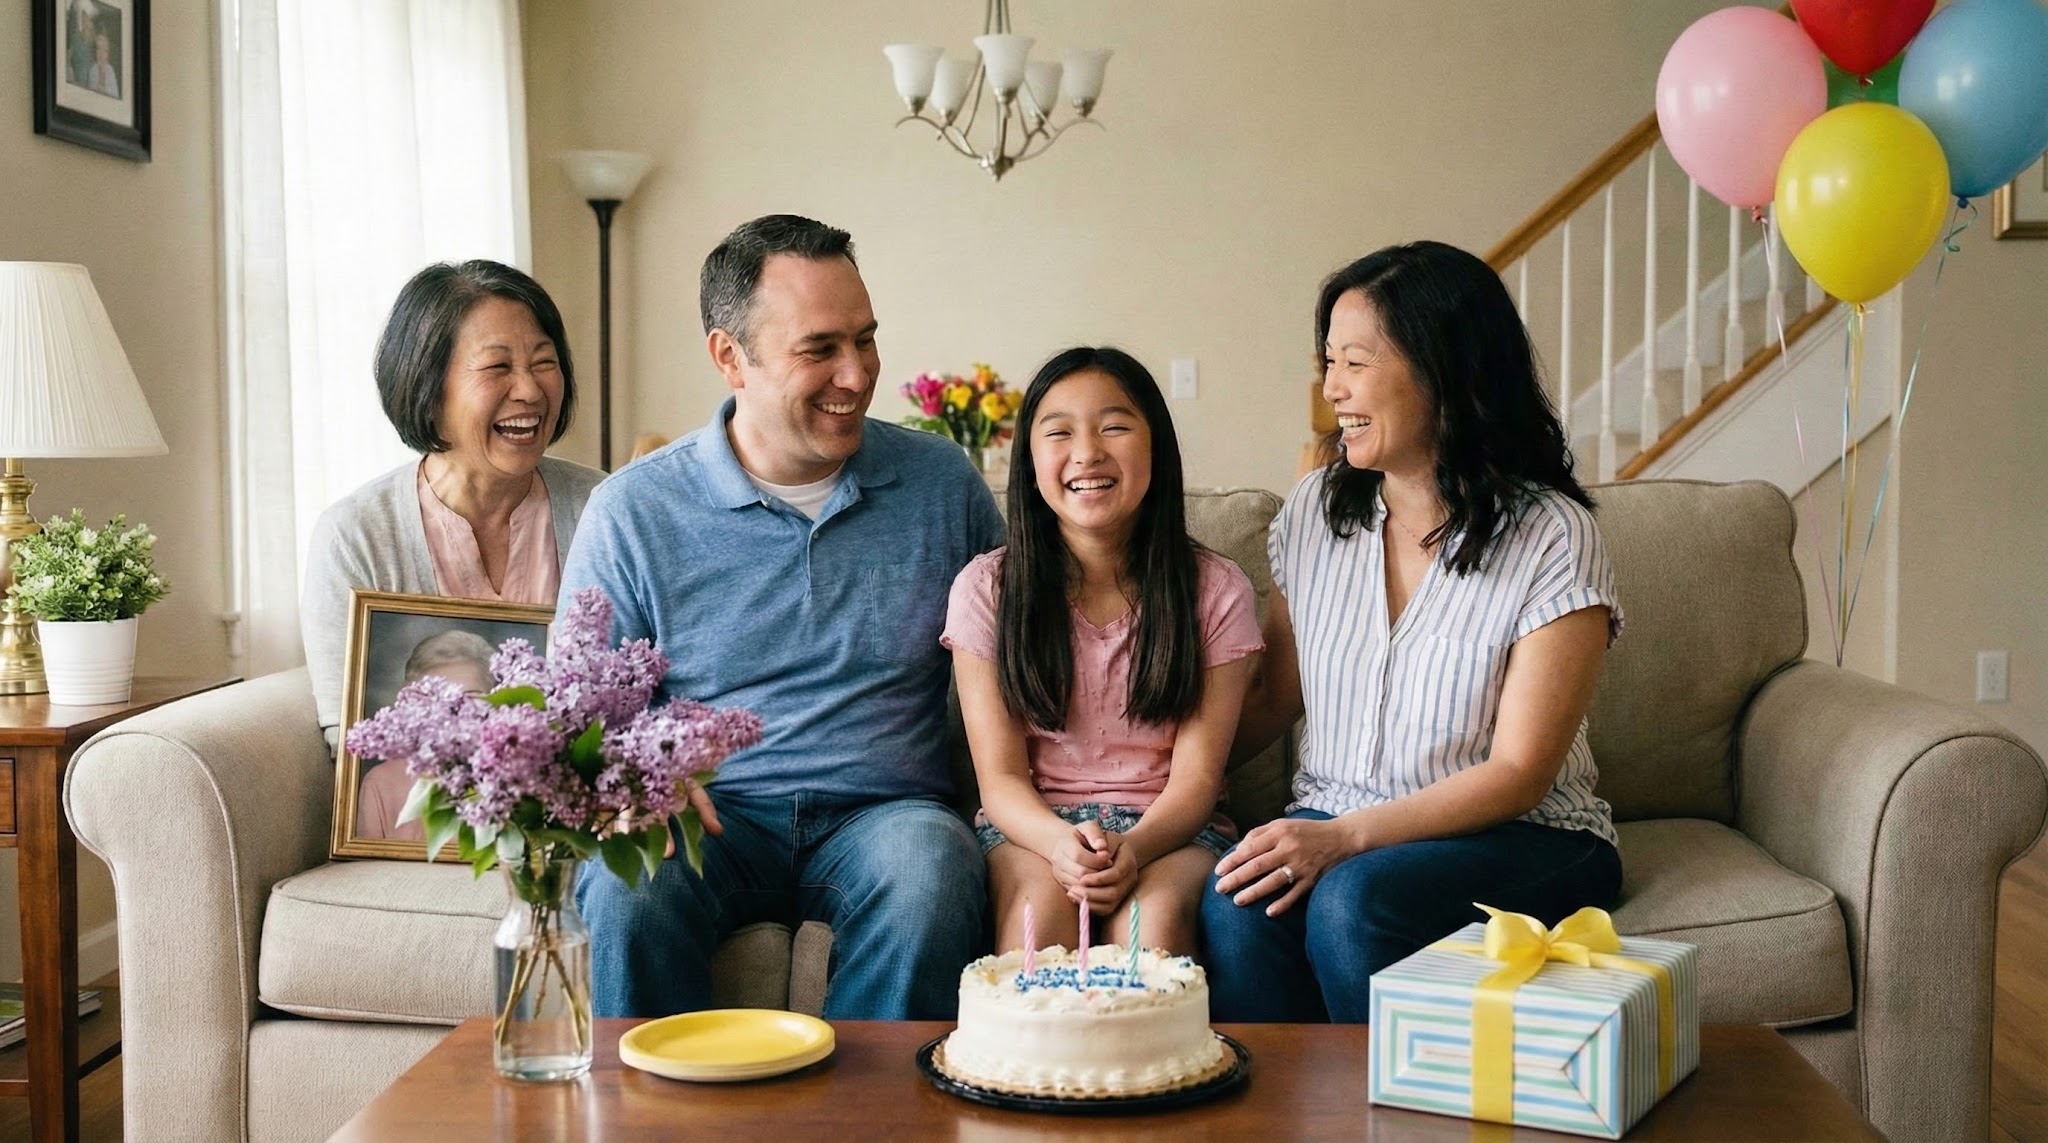
Examples

Quick checklist
Best results happen when the photos are clear and well-lit.
- Main photo: original size, minimal filters
- Loved one photo: face clearly visible
- Leave natural space for placement
A quiet way to complete a meaningful memory
Some photos hold more than a moment — they hold a relationship, a milestone, and a feeling that can’t be repeated.
When someone you love has passed away, certain pictures can start to feel incomplete over time. It isn’t always about what the photo “looks like.” It’s about how clearly the photo carries the memory.
Adding a loved one who passed away into a photo is one way to create an image that matches the emotional truth of the moment. The goal is not to make it flashy or dramatic. The goal is to make it feel consistent — as if the photo naturally belongs in the same scene.
People use this for many situations: a family gathering where a seat feels empty, a celebration they would have loved to be part of, or a picture you want to keep in an album without the visual feeling of absence.
It’s also normal to hesitate before making a photo like this. A respectful result usually comes from moving slowly: choosing clear photos, trying a couple of placements, and stopping when it feels right to you.
If you’re making this for a print, a frame, or a keepsake album, subtle realism matters even more. That’s why the steps below focus on small details like lighting direction, distance, and natural edges.
How people create a complete photo
Most people do a couple of tries — not because it’s difficult, but because the best placement is often subtle. Small shifts in position (closer to family, aligned with a shoulder line, slightly behind or in front of another person) can change whether it feels natural.
When you’re choosing placement, aim for the simplest, most realistic option first: place them where someone could actually stand or sit in that scene. If the main photo is a group photo, match the height and distance of nearby people. If it’s a seated scene, choose a seated placement to avoid awkward proportions.
What makes the result look natural
A completed photo only feels real when the details align. The most important factors include:


If something looks “off,” it’s usually one of three things: the lighting direction doesn’t match, the person is placed at a different distance than the group, or the source photo is much lower quality than the main photo. A small adjustment often fixes it.
Understanding realistic expectations
This works best when both photos are clear and taken from similar angles.
If lighting conditions, resolution, or camera perspective are very different, results may vary — and that's completely normal.
Most people get the best outcome by trying two or three placements and choosing the one that feels most natural in the scene.
In group photos, realism improves when the added person fits the same depth and height range as others. In indoor photos, realism improves when the source photo has a similar color temperature (warm indoor light vs cool daylight).
The goal isn't technical perfection. It's creating a photo that feels right to you and honors the memory in a meaningful way.
Tips for the best result
- Use the highest-resolution version you have
- Avoid heavy filters or extreme blur
- Choose a photo with a natural place where they could stand or sit
- If it’s a group photo, pick one with consistent lighting across faces
- If you plan to print, avoid screenshots or compressed messaging-app exports
- A clear face with good lighting works best
- Front-facing or slight side angles are ideal
- Avoid heavy shadows across the face
- Choose a photo where they are the main foreground subject
- If possible, use a photo taken in a similar setting (indoor vs outdoor)
A practical way to improve realism is to match “scene type.” Outdoor-to-outdoor blends more naturally. Indoor-to-indoor blends more naturally. If the main photo was taken at night or in warm indoor lighting, a daylight portrait may look slightly different — a new source photo often helps more than over-editing.
Common ways people use this
People use this in many meaningful situations — as a quiet way to keep a memory complete.
- A family gathering photo that feels incomplete without them
- A wedding, engagement, or anniversary picture where they should have been
- A holiday photo (Christmas, Thanksgiving, New Year) meant for an album
- A graduation, birthday, or milestone celebration you want to keep as a keepsake
- A printable photo for a memorial table or family frame

If you’re making a keepsake, the most meaningful results tend to be the most subtle — the kind that simply feels like the photo belongs in your album.
Is this right for you?
- Want a respectful way to include someone who passed away
- Care more about emotional realism than dramatic effects
- Prefer a natural-looking result, not heavy editing
- Want something printable for an album, frame, or keepsake
- Feel more comfortable when the process stays calm and in your control
- You want dramatic artistic or fantasy-style visuals
- Your photos are extremely low quality or heavily altered
- You need a perfect result in one try
- You prefer a heavily stylized “edited” look over realism
Being honest about fit helps keep expectations aligned and the experience respectful.
If you’re unsure, start with the clearest two photos you have and try a simple, natural placement first. You can always adjust, retry, or pause — nothing is final unless it truly feels right to you.
Frequently asked questions
Ready to create a complete photo?
If you have a meaningful photo and a clear photo of your loved one, you can create a natural, respectful result in minutes.