Add a Deceased Loved One to a Photo Free
A gentle, realism-first way to complete a memory — keeping the same scene, the same light, and the same moment.
Upload two photos and bring them back into the original scene in a calm, believable way — without loud effects, gimmicks, or uncomfortable comparisons.
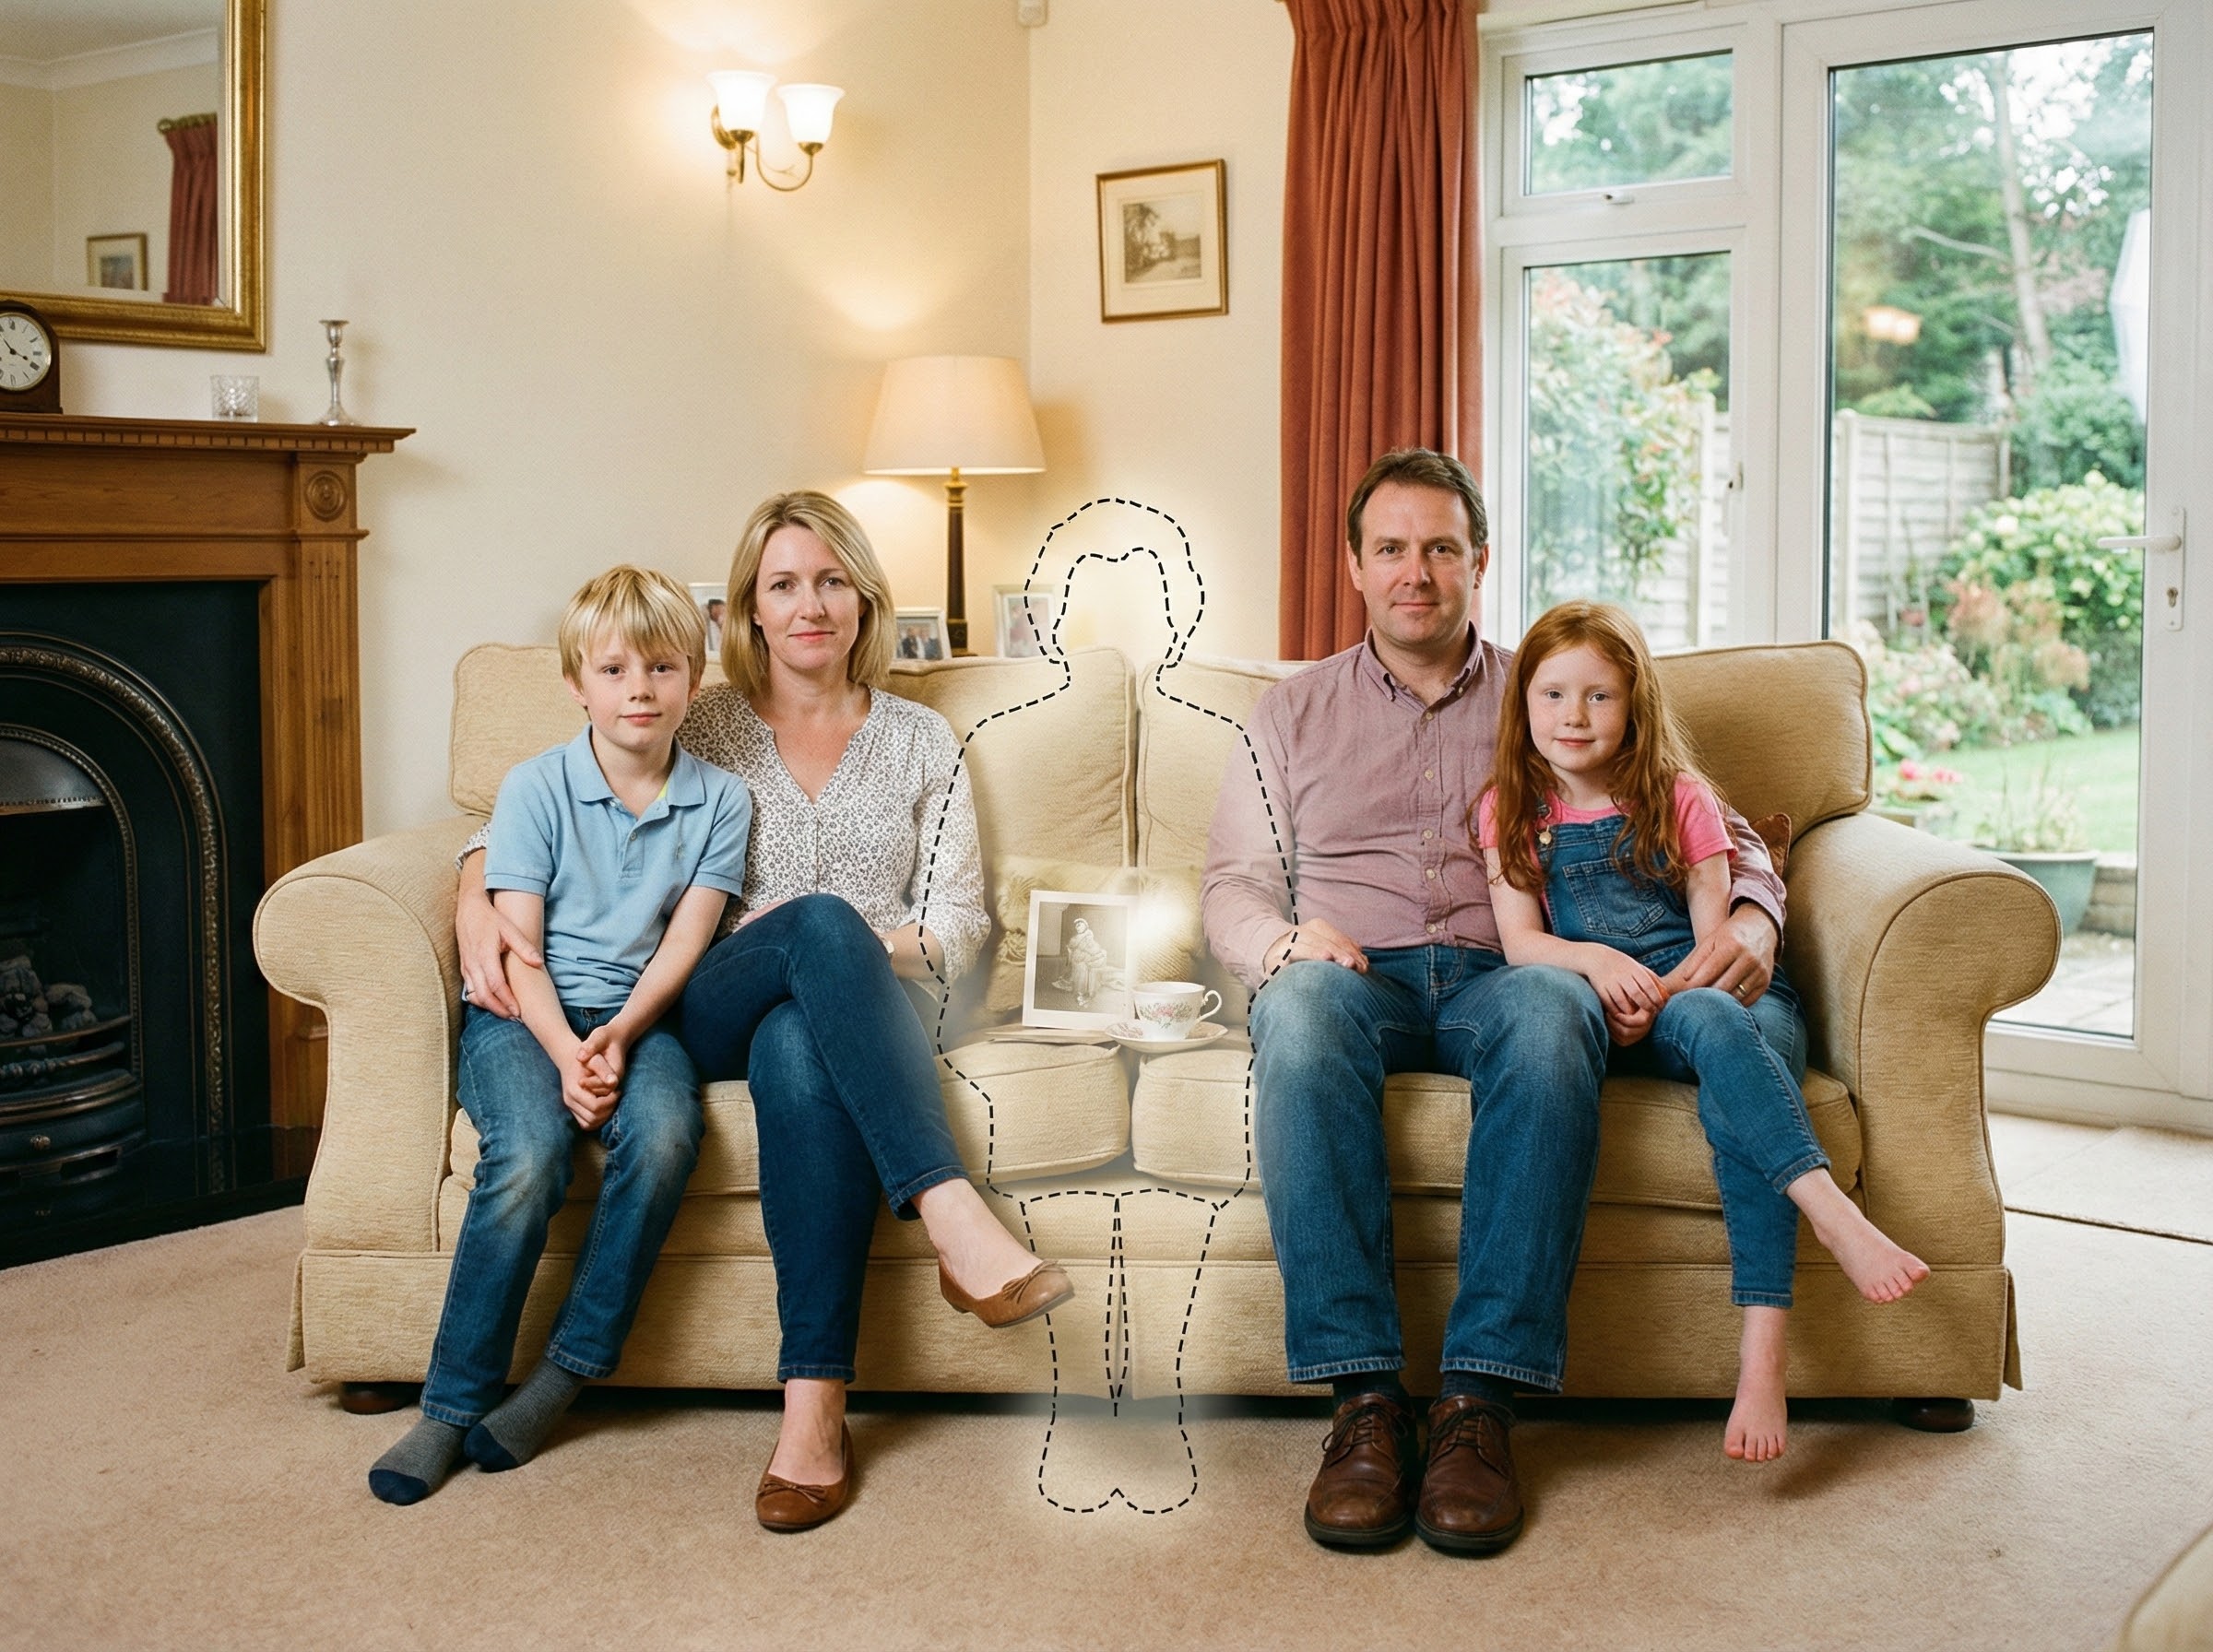
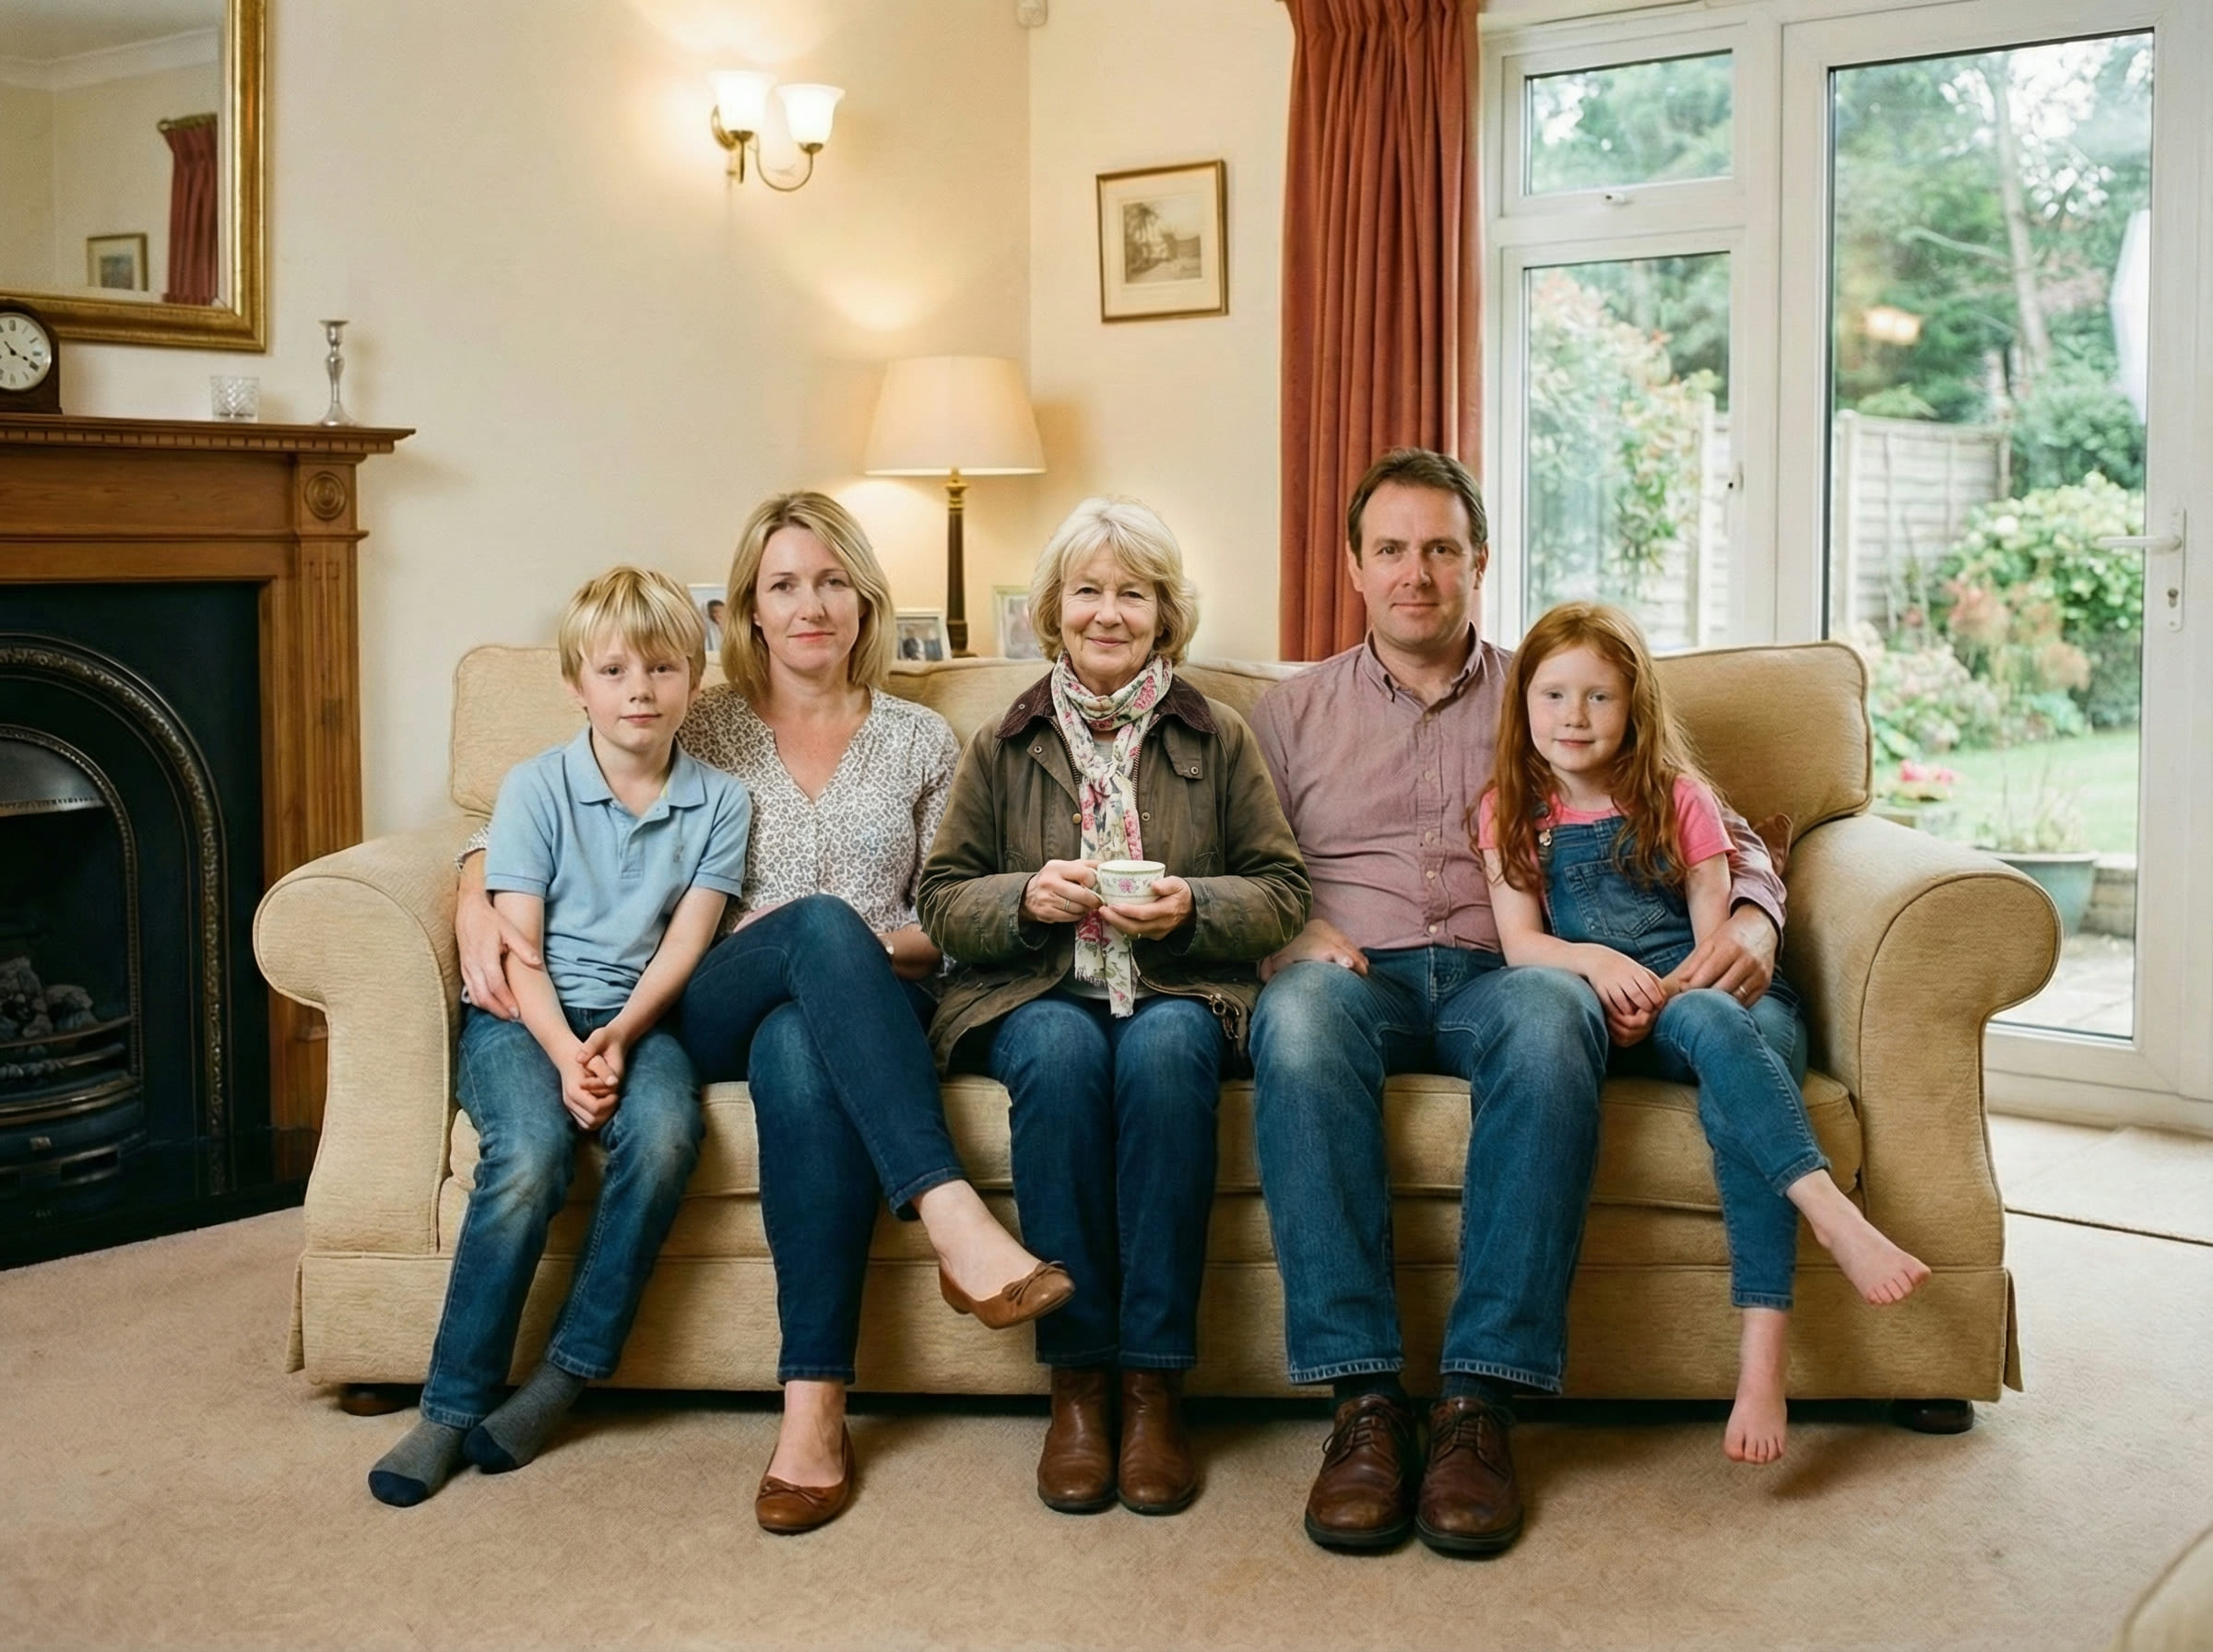
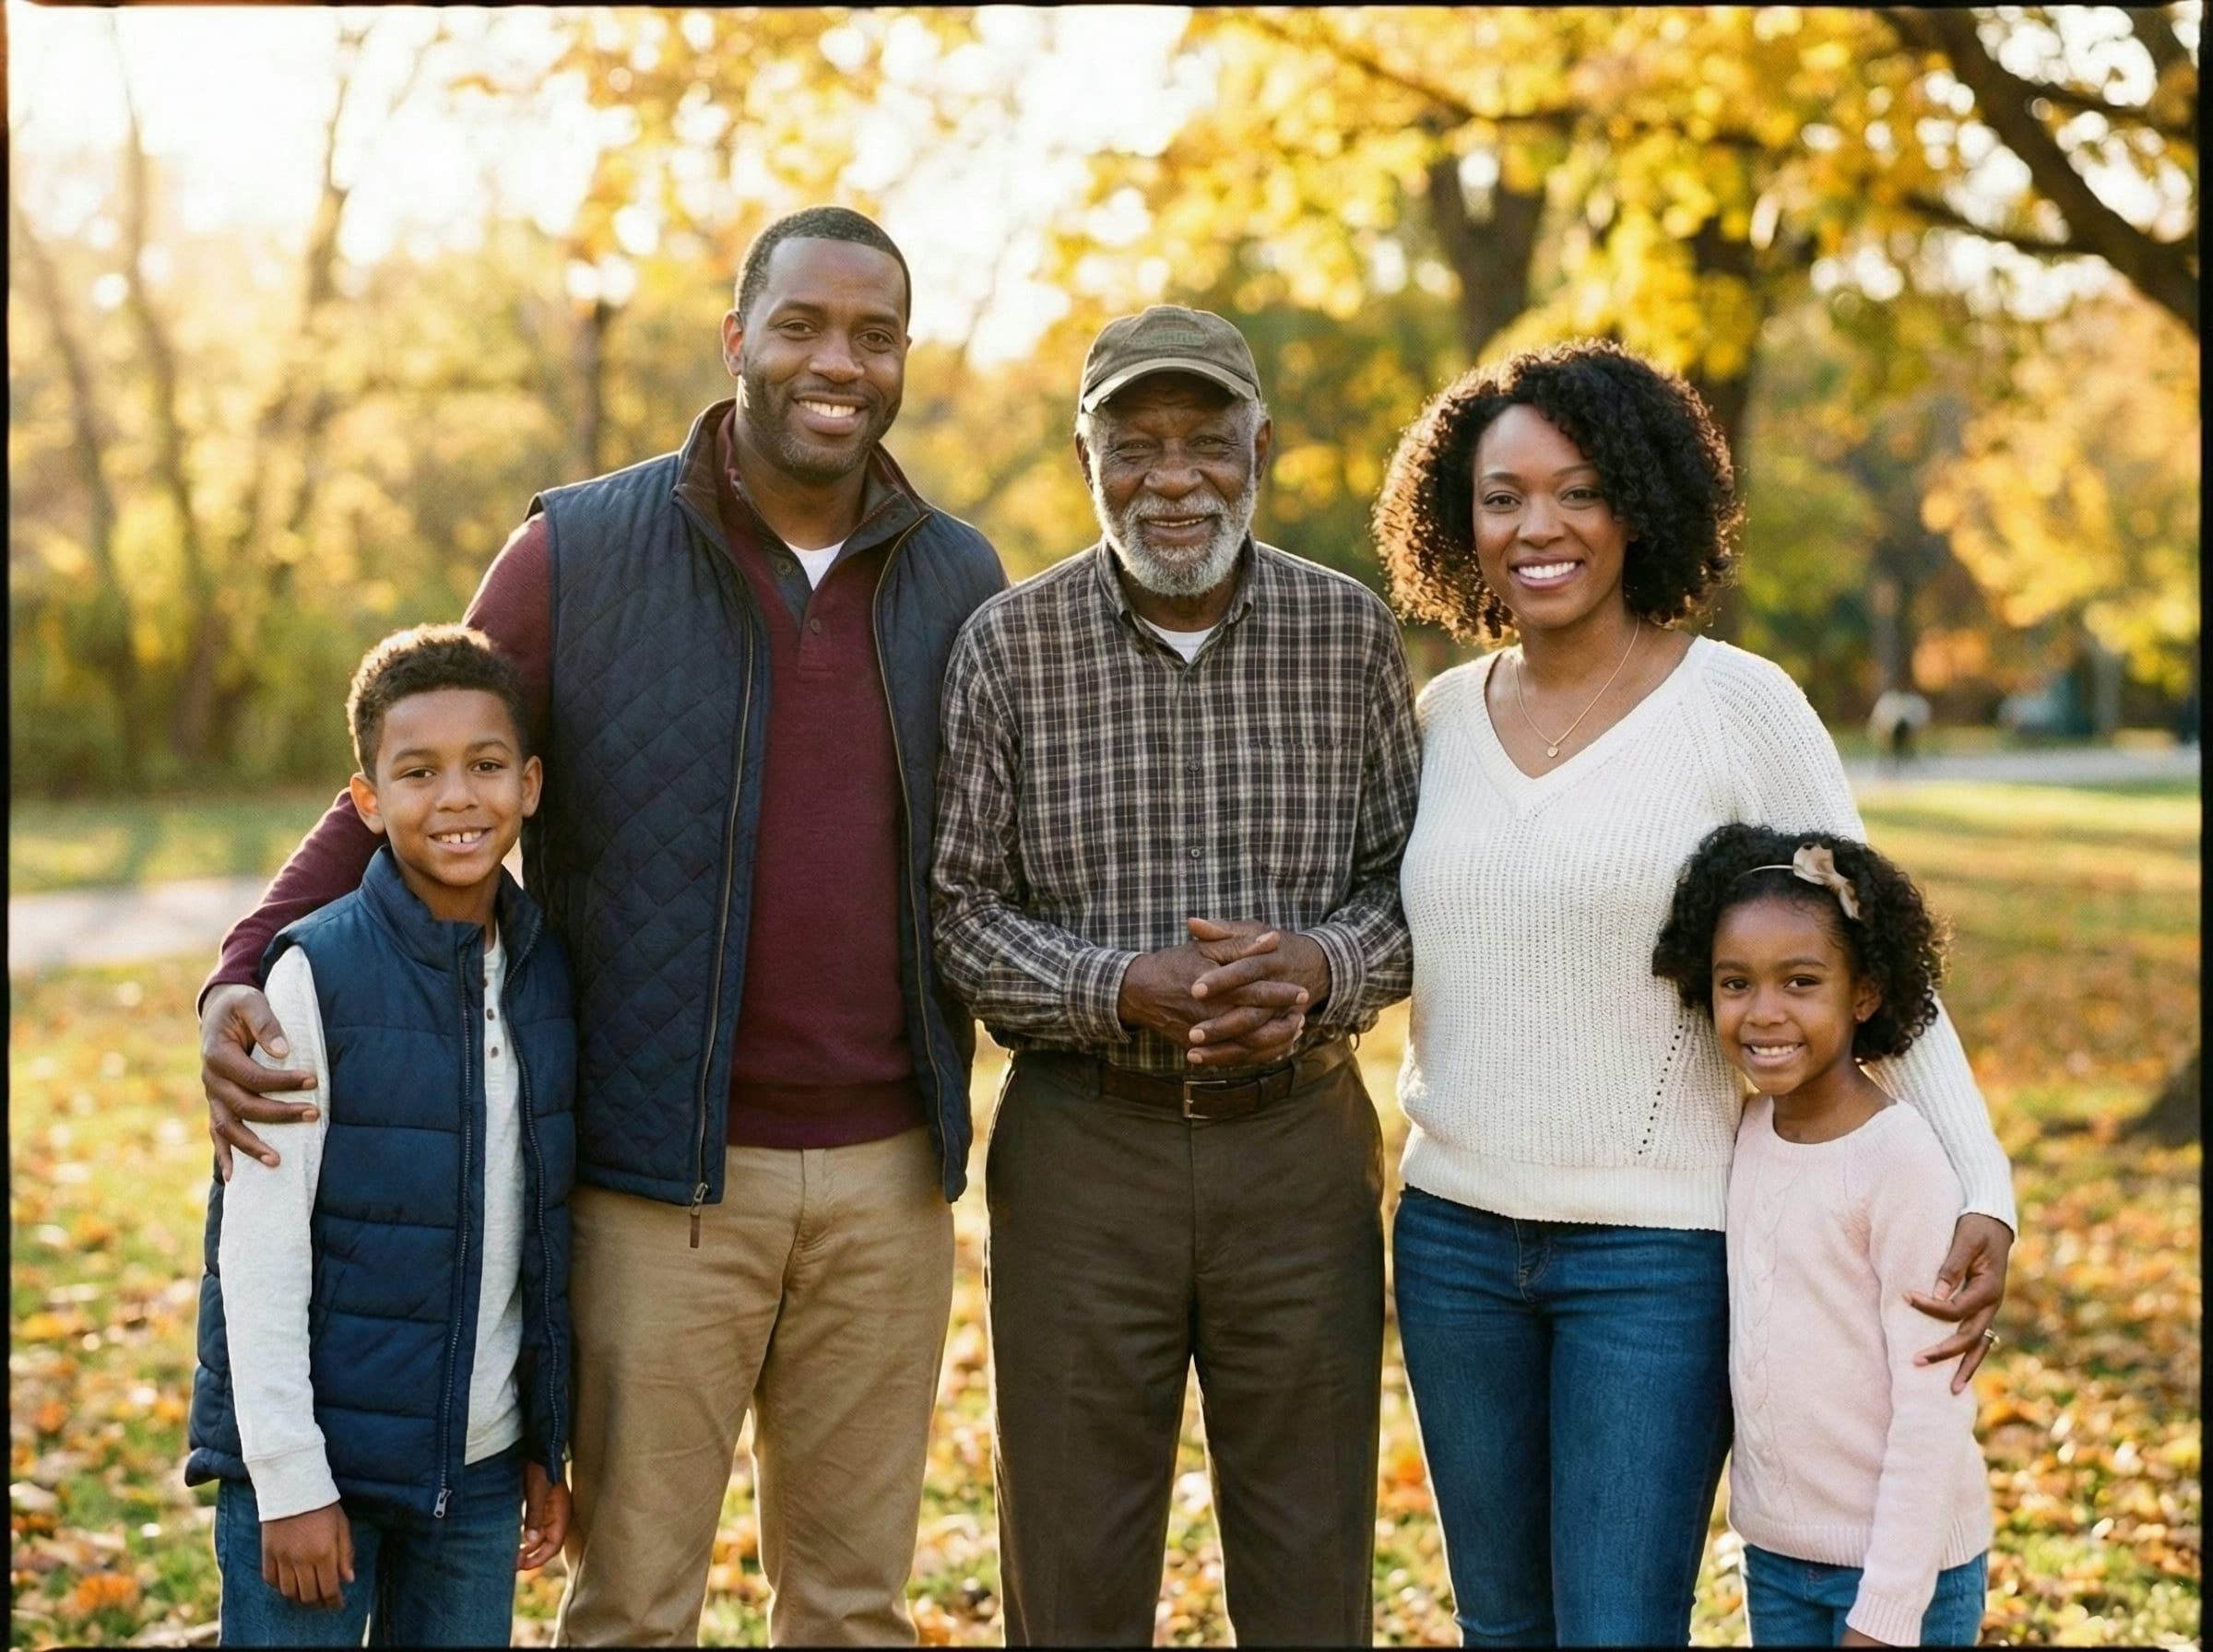
Examples
Quick checklist
The most realistic results come from simple, consistent inputs.
- Main photo: original file (avoid screenshots), minimal filters
- Loved one photo: face clear, natural light when possible
- Pick a spot where a person could realistically stand or sit
A calm way to complete a memory (free)
Some photos aren’t just pictures — they become the way a moment is remembered. The ones people print, frame, and return to over time often carry a quiet emotional truth.
When someone you love has passed away, an important photo can feel incomplete in a very specific way. Not because the image is “bad,” but because the scene doesn’t reflect what the moment meant to you.
That’s why people search for add deceased loved one to photo free. The intent is usually simple: keep the original scene, keep the original mood, and place them back in a way that feels faithful to that moment — without turning it into a spectacle.
A respectful completion often looks subtle. It doesn’t demand attention. It simply feels consistent: same camera angle, same distance, same light direction, same sense of space.
Starting free is helpful because you can test realism without pressure. Most people refine placement once or twice, then stop when the image feels emotionally comfortable to keep.
How the free workflow works
The free workflow is intentionally simple. To add deceased loved one to photo free, the goal is to merge one person into one scene while preserving the original photo’s “truth” — its perspective, depth, and lighting.
Two or three tries are normal. Small shifts — moving slightly back, aligning shoulder height, matching distance to nearby people — can change realism dramatically.
What makes it look natural
Realism is usually decided by the scene, not by any single detail. When you add deceased loved one to photo free, the most convincing results come from consistency: one camera, one environment, one moment.
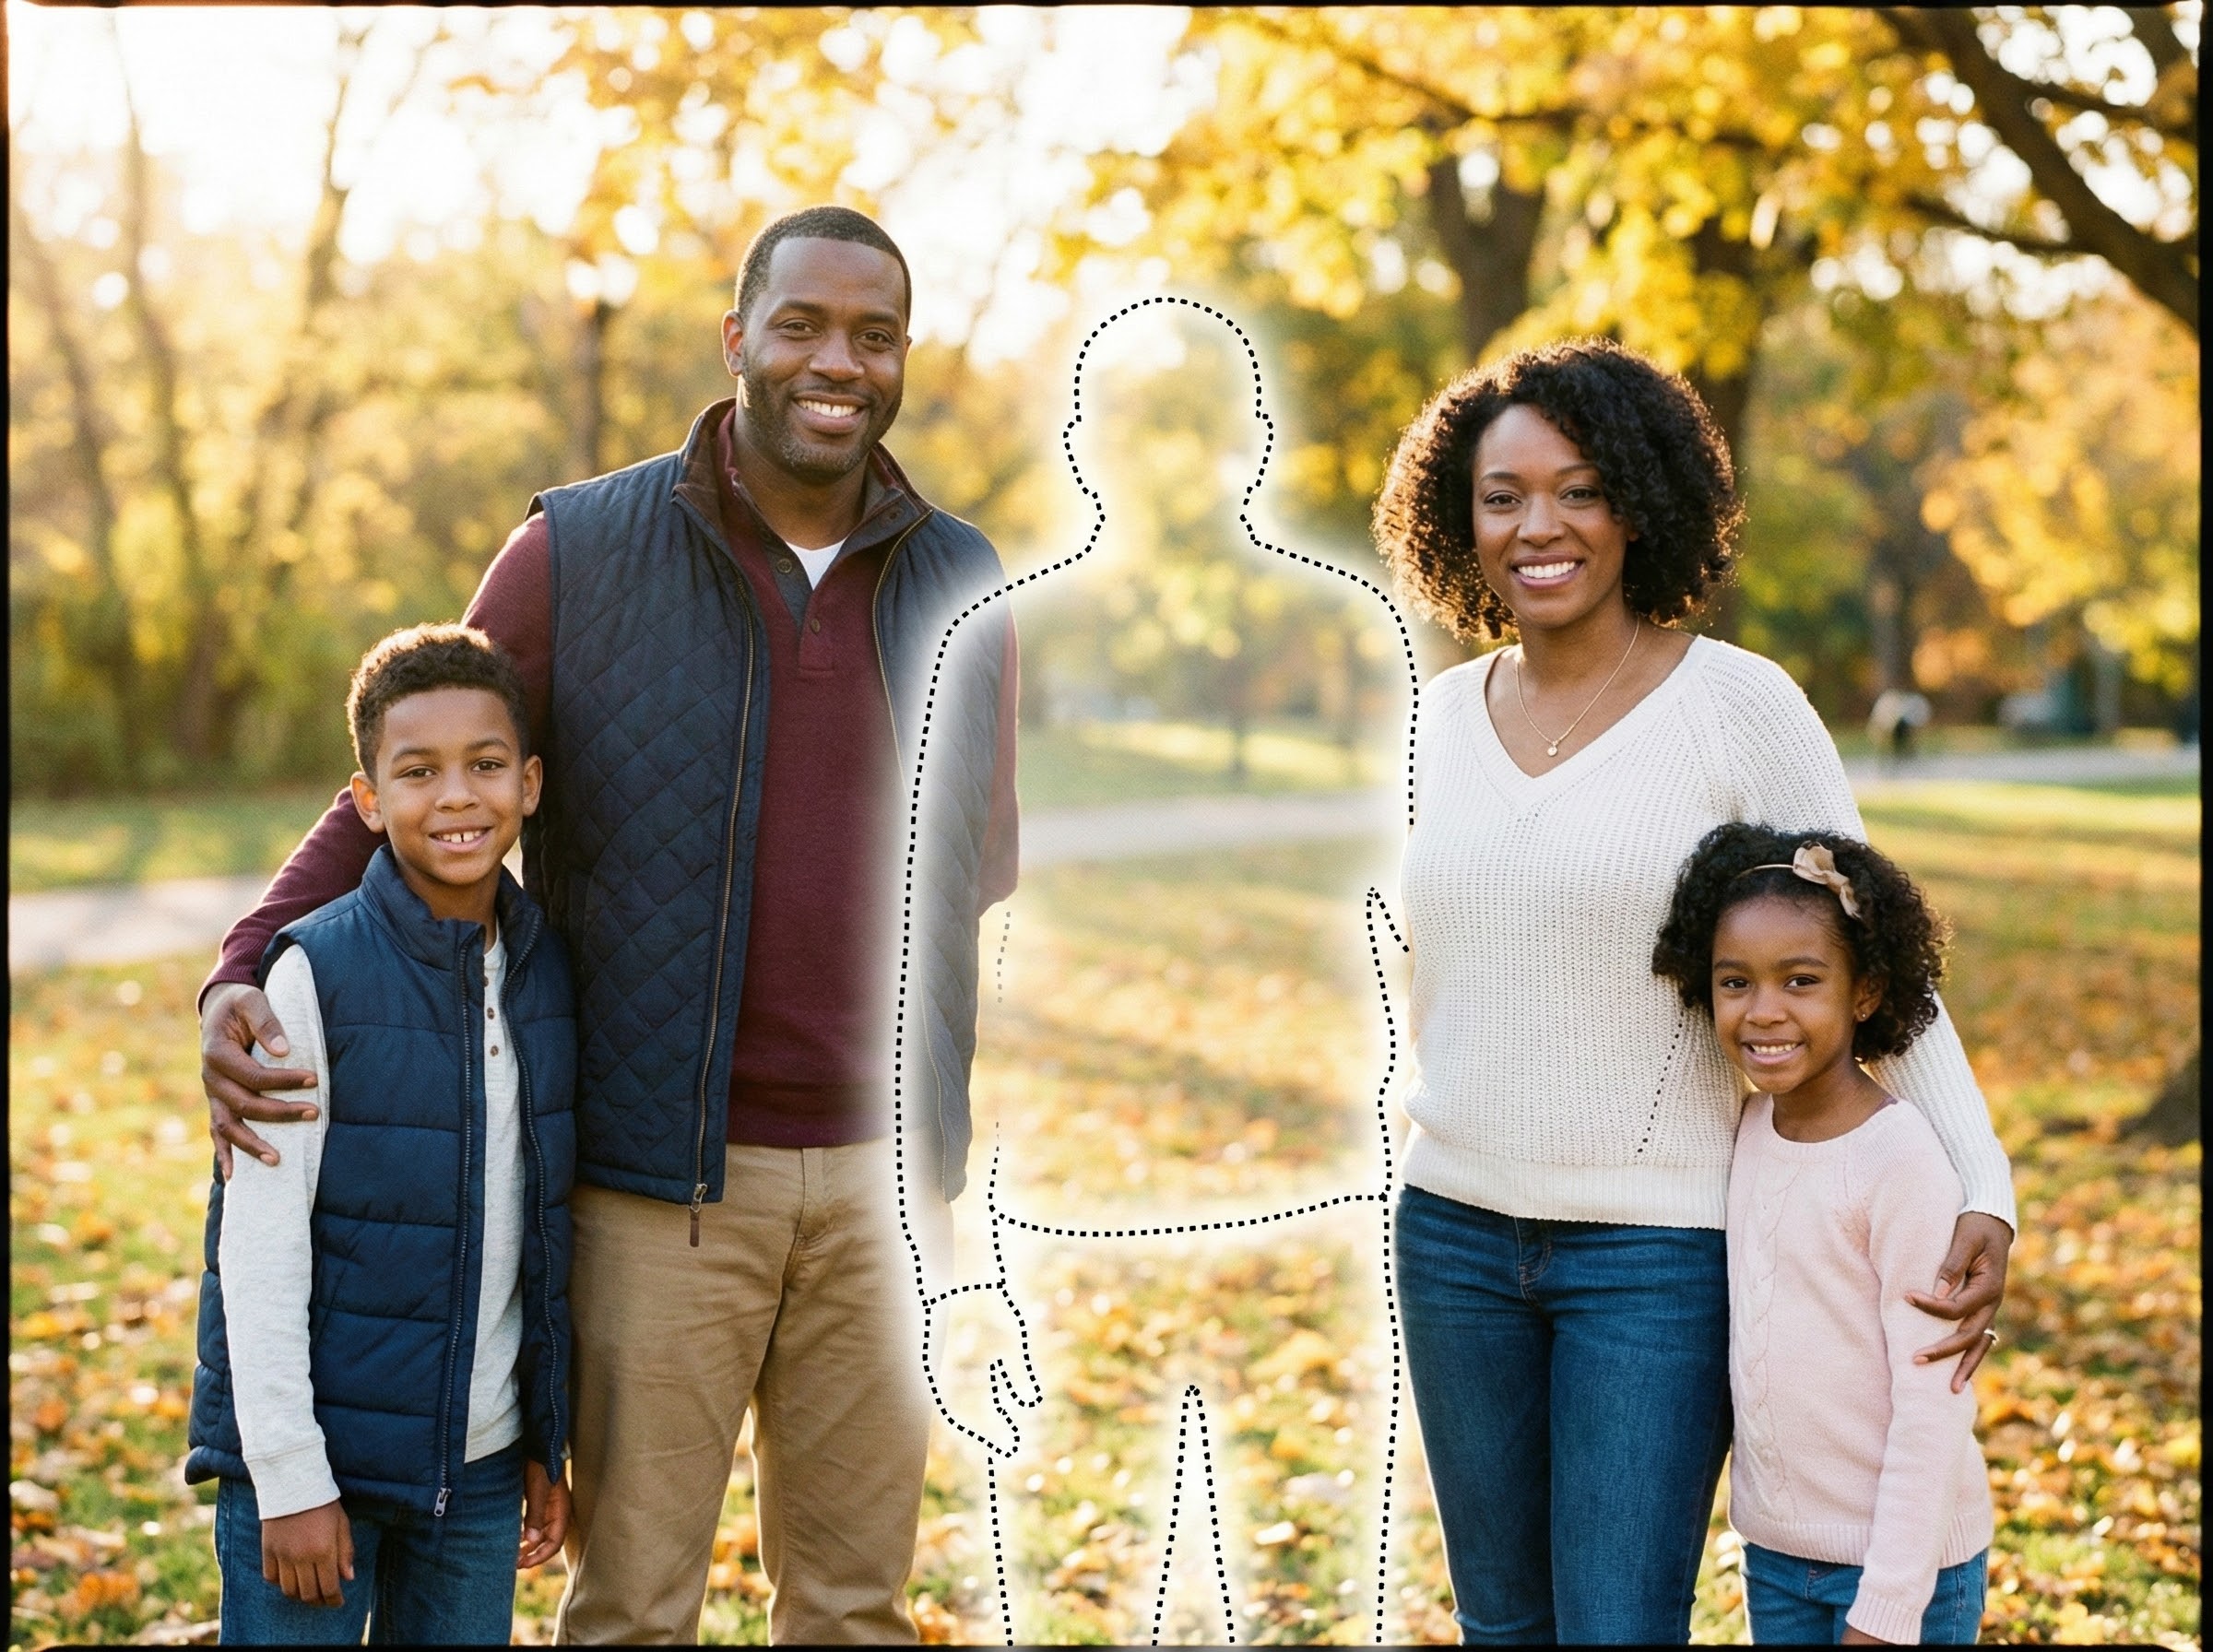
Realistic expectations for free results
Free results can be surprisingly strong when your inputs are consistent. The most realistic outcomes happen when both photos share similar conditions (indoor vs indoor, outdoor vs outdoor) and the loved one photo isn’t heavily filtered.
Best case: clear images with soft, natural lighting and a straightforward camera angle.
Typical case: 2–3 placement tries to make depth and scale feel right.
Hard case: extreme differences in quality (very blurry vs very sharp), opposite lighting (flash vs daylight), or drastically different angles.
When it’s hard, switching to another photo of your loved one often helps more than forcing placement to work.
Tips for the best result
These tips quickly improve realism when you want to add deceased loved one to photo free:
If you plan to print, keep the final file uncompressed. Printing tends to reveal tiny edge and lighting mismatches that a phone screen hides.
Common ways people use this
People often use this for photos they plan to keep — not just view once. Common scenarios include:
- Weddings and family milestone photos
- Graduations and achievements
- Holiday gatherings and annual portraits
- A framed keepsake for home
- A remembrance table photo or album page
In most cases, the goal is the same: keep the original scene and simply restore the feeling that everyone was there together in that moment.
Is this right for you?
This is a good fit if you want a calm, believable completion — something that doesn’t feel like an “edit,” and doesn’t turn a meaningful photo into a dramatic effect.
- Prefer subtle realism over flashy transformations
- Want control over placement and retries
- Plan to print the final image
- Care about keeping the same scene and moment
- You want highly stylized or artistic edits
- Your inputs are extremely low-quality or heavily filtered
- You need a flawless match in one attempt
- You want an exaggerated “wow” effect
Choosing the right approach helps keep expectations aligned.
If you’re unsure, start with the clearest two photos you have and try one simple placement. You can pause anytime — nothing is final unless it feels right to you.
Frequently asked questions
Start when you feel ready
Upload your main photo and a clear photo of your loved one. Choose a natural placement, then download a printable PNG/PDF for albums and frames.